About
Single sign-on (SSO) is a type of authentication in which a user logs in to one system and is automatically granted access to other services. Single sign-on is often used within enterprise environments (and with services such as Manifest) where employees access numerous apps and services daily. Rather than having an employee create a separate set of credentials to log into every application they use daily, SSO allows a single login for authentication of many services using an OpenID platform.
There are several different OpenID providers. We have included a link below. In the below article, however, we outline how to set up SSO authentication using Auth0.
Prerequisites
- An Auth0 account
- Manifest Web Application Administrator or Security Administrator role
Setting up an OpenID application
- Create an account here: https://auth0.com
- An email asking to verify your account will be sent
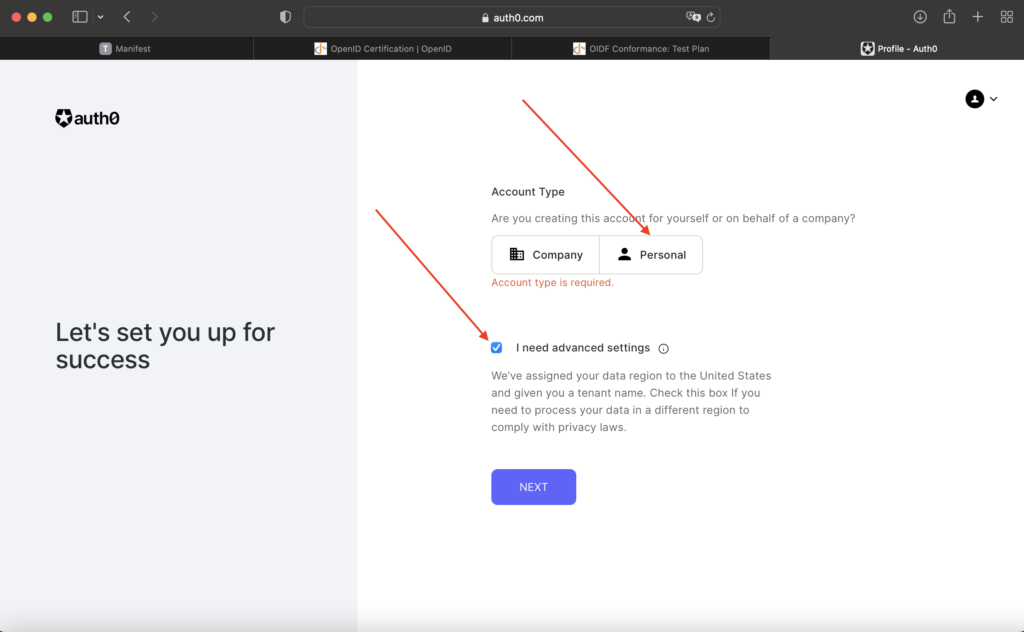
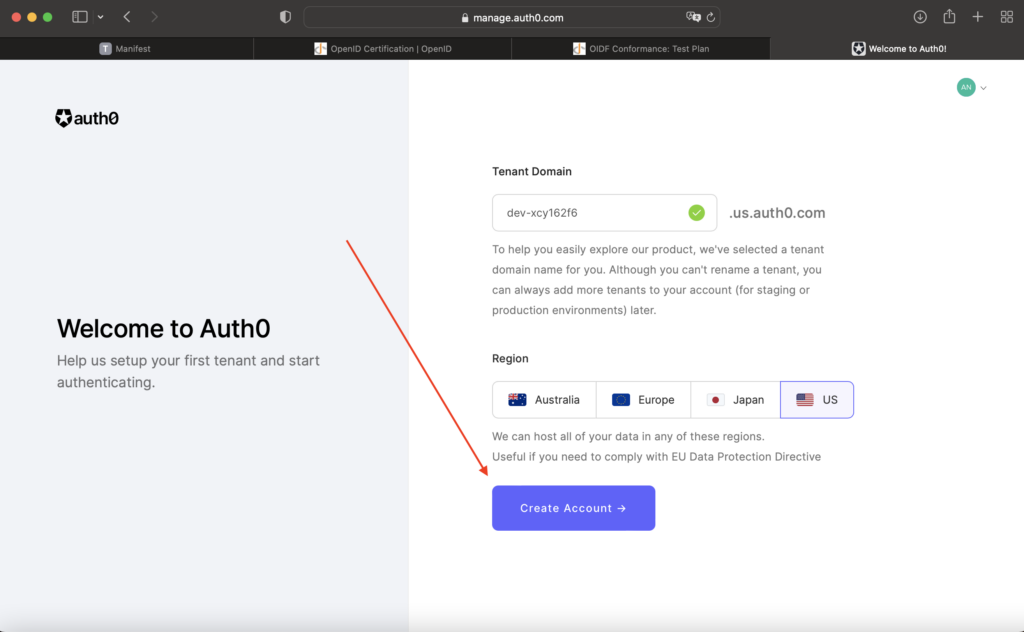
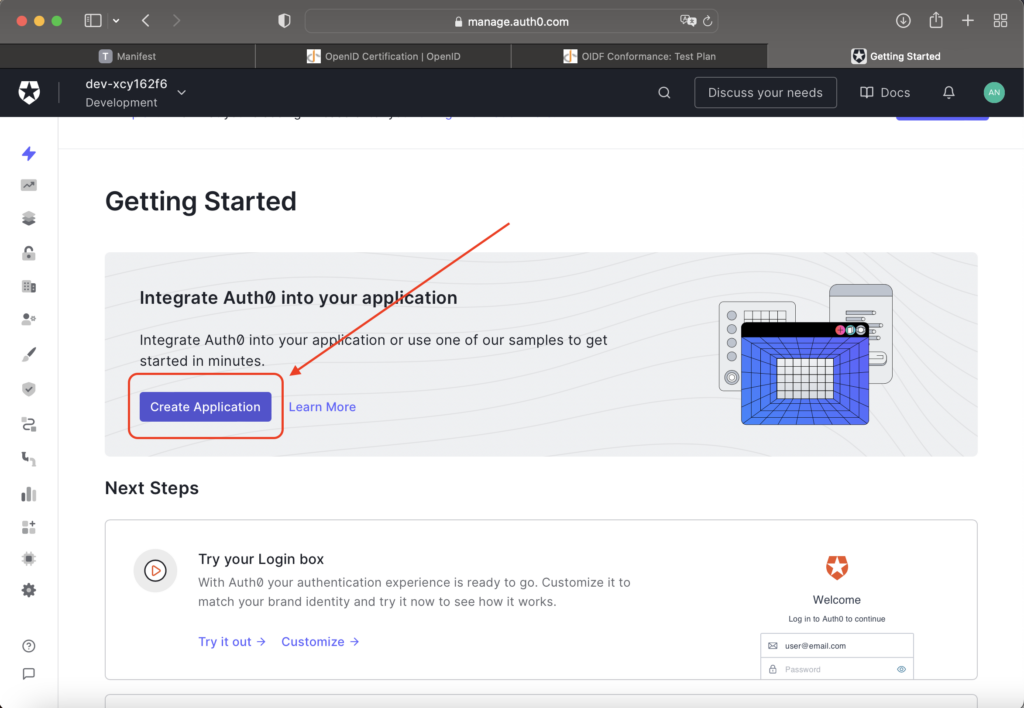
- Once the login credentials are created, select “Create Application”
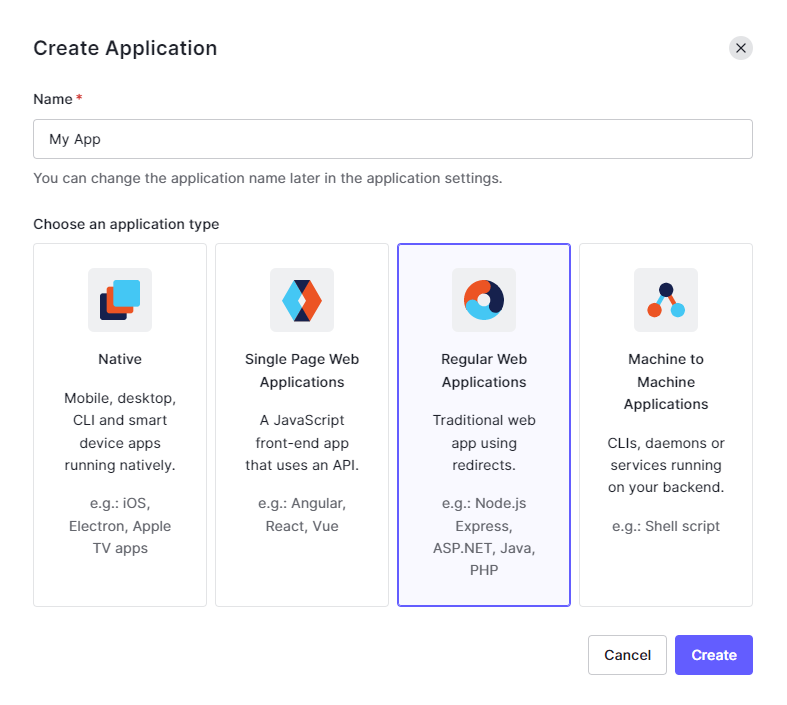
- A pop-up module will appear. Select the “Regular Web Applications” option as seen in the screenshot below
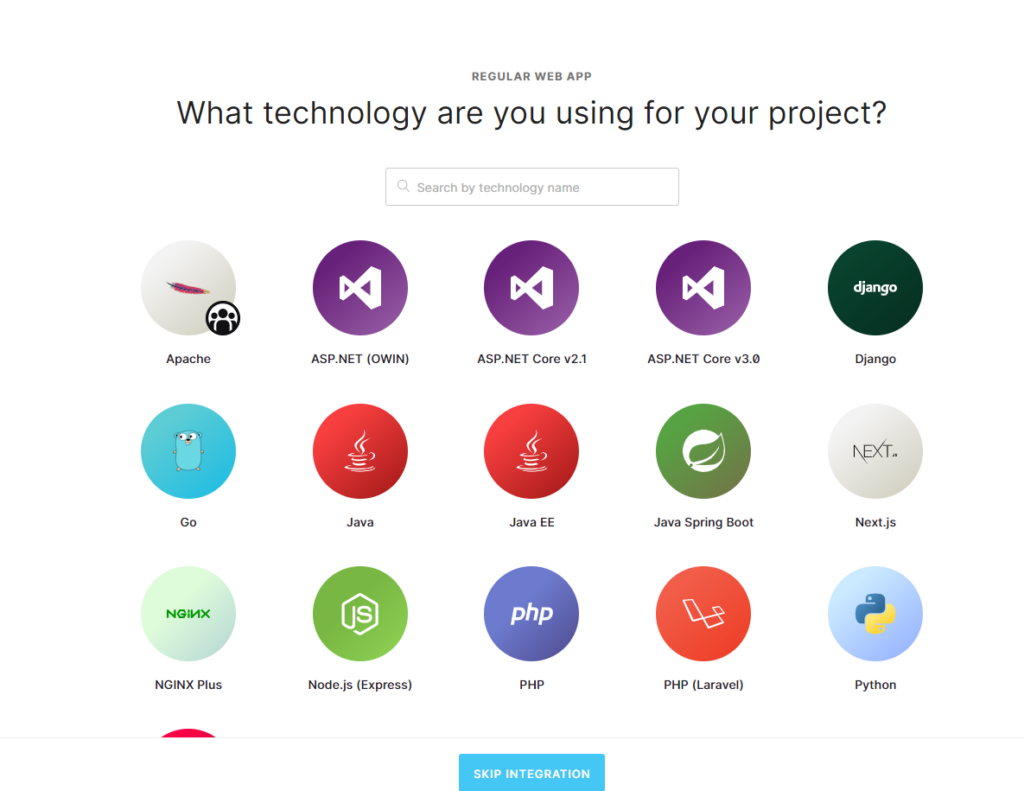
- A page will ask to select the specific technology that is being used. Scroll down and select “Skip integration”
- A configuration page will be displayed.
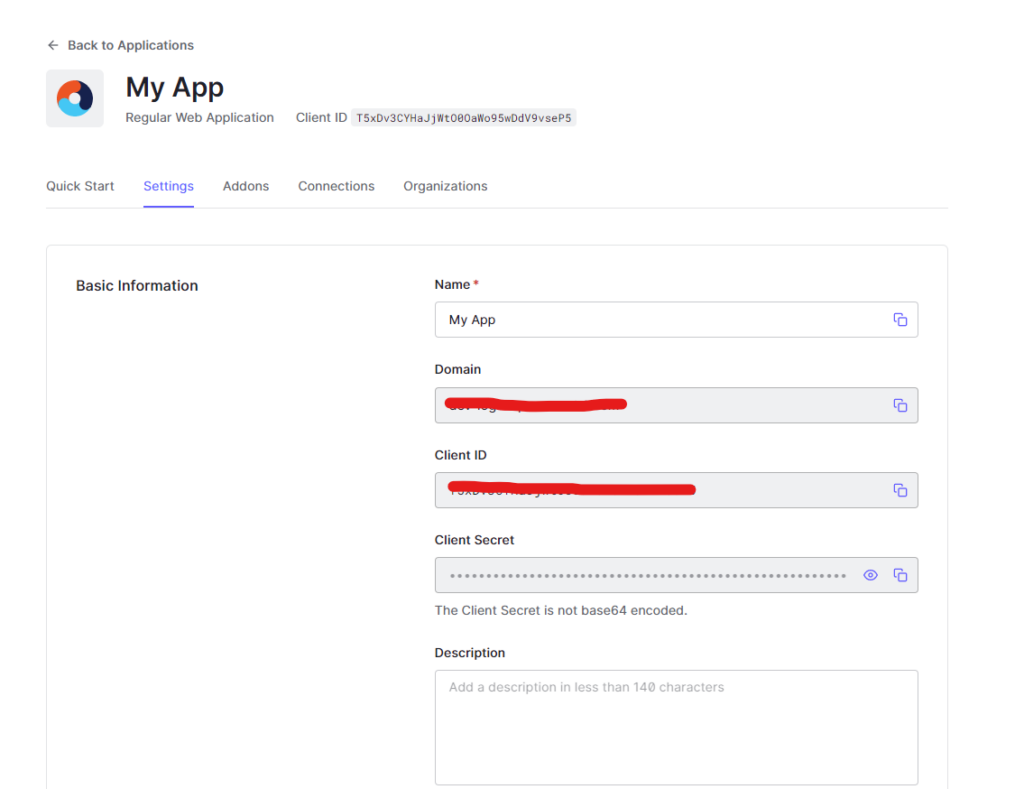
- Scroll down to Application URLs
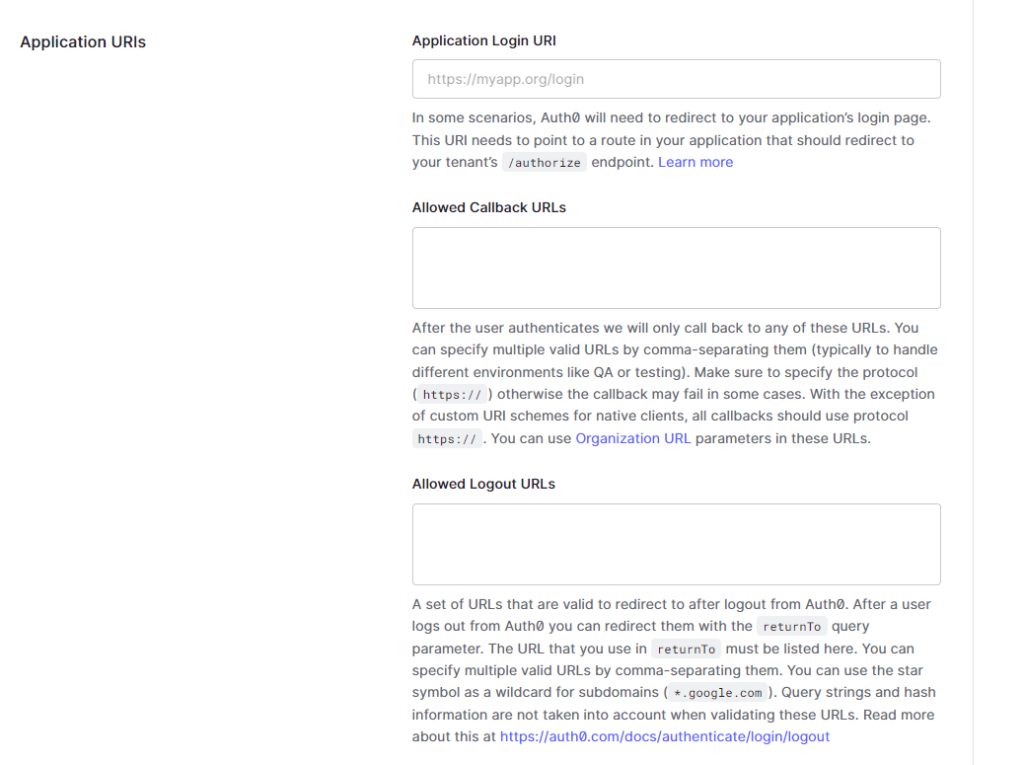
- In the Application Login URL, enter the domain which will be authenticated and append with the following:
- /rest/sign-in-by-oidc-callback
- Example: https://[DOMAIN].taqmanifest.com/rest/sign-in-by-oidc-callback

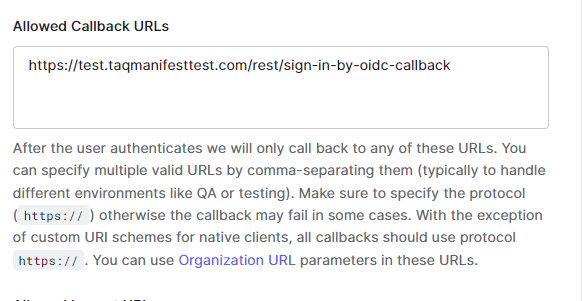
- Under Allowed Callback URLs, enter the following:
- https://[DOMAIN].taqmanifest.com/rest/sign-in-by-oidc-callback
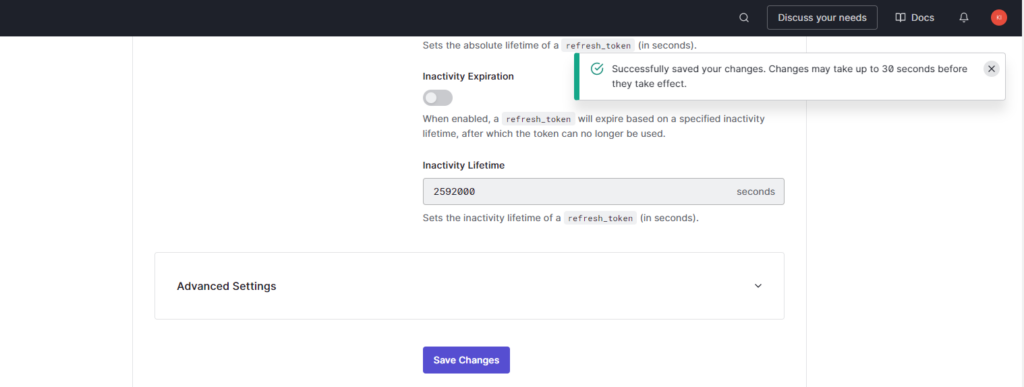
- Scroll to the bottom of the page and select “Save Changes”
- A pop-up window will display “Successfully saved your changes. Changes may take up to 30 seconds before they take effect.”
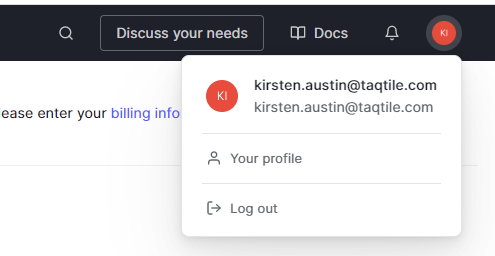
- Scroll to the top of the page and select the “Profile” icon in the top right-hand corner to validate the set-up
Setting up OpenID in the Manifest Web Application
- Go to the Manifest Web Application instance
- Log into the domain
- Go to Client Settings
- Go to Authentication Configuration
- Select “+OIDC”
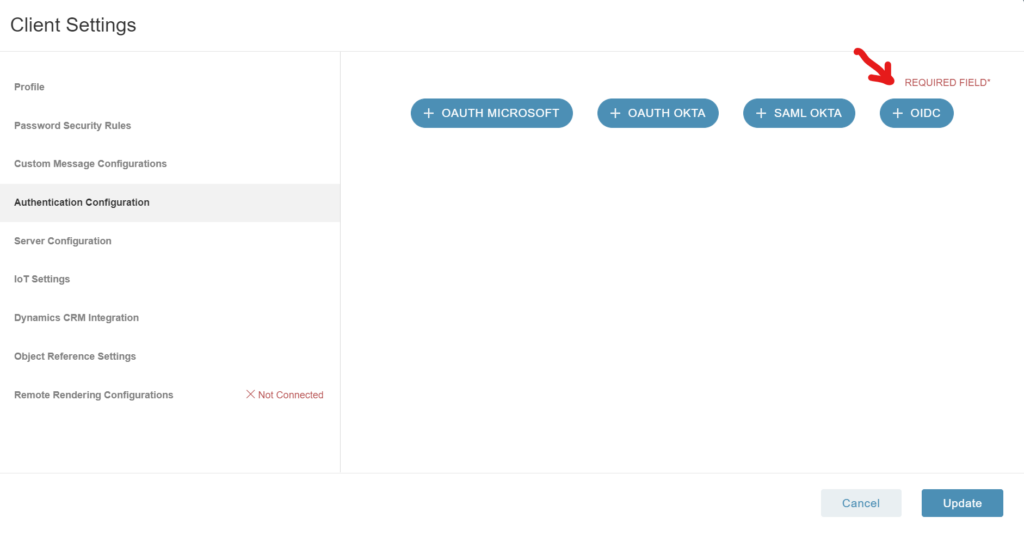
- Under Flow, select “implicit”
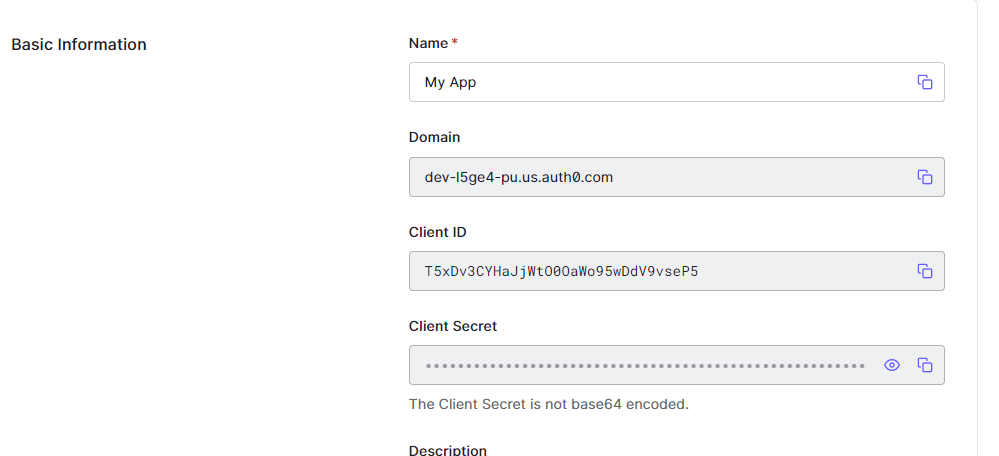
- Under Client ID, find the Client ID from the OAuth account that was set up above
- Example: T5xDv3CYHaJjWtO0OaWo95wDdV9vseP5
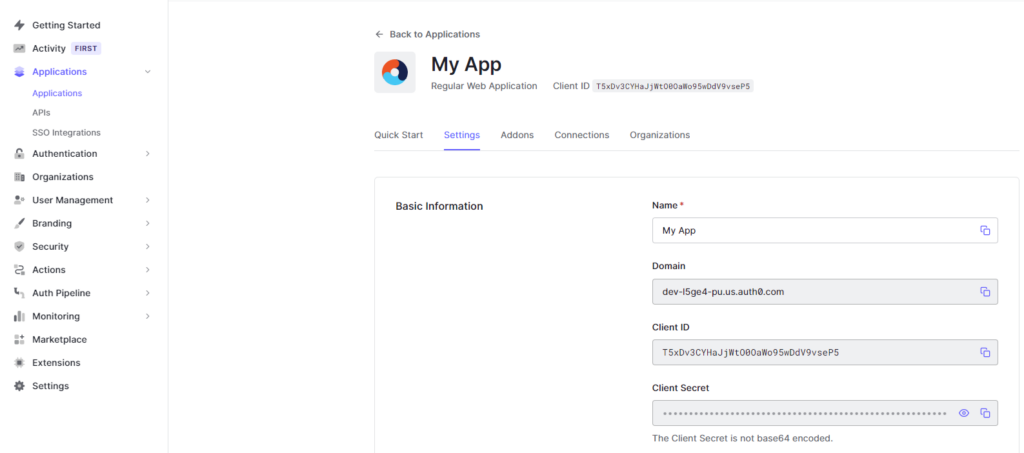
- Under Issuer, find the domain from the OAuth account that was set up above
- Select “Update”
- Logout
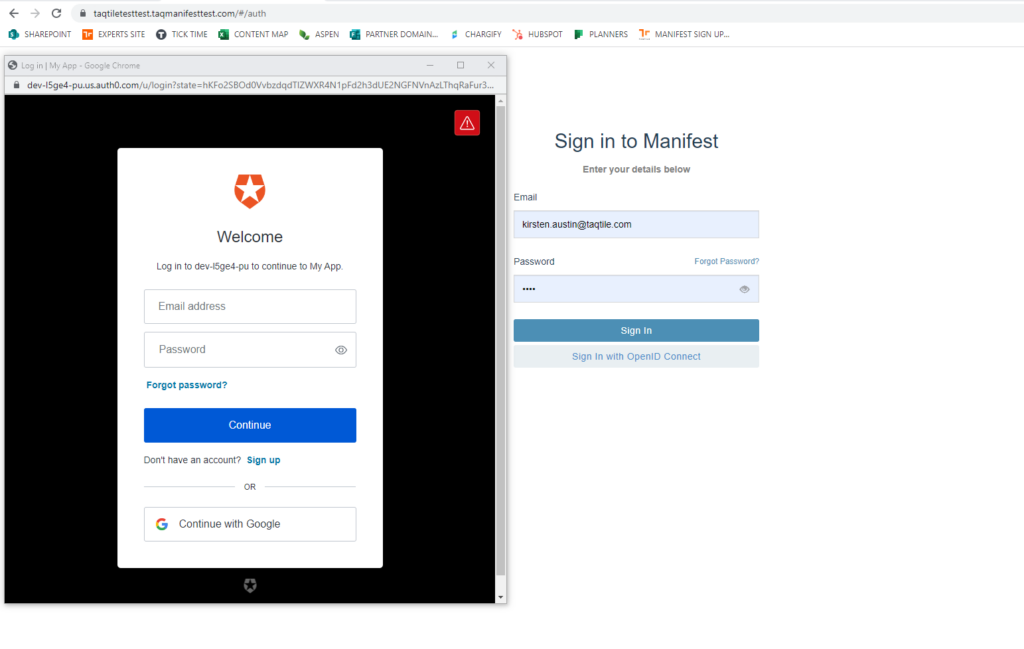
- The main Manifest login page will now display a new option for single sign-in called: “Sign In with OpenID Connect”

Logging into the Manifest Web Application using OpenID connect
- From the Manifest Web Application Log In page, select “Sign in with OpenID Connect”
- A prompt will prompt users to log in to the OAuth website
- This will only happen the 1st time a user logs in with OAuth OpenID
