About Touch Alignment
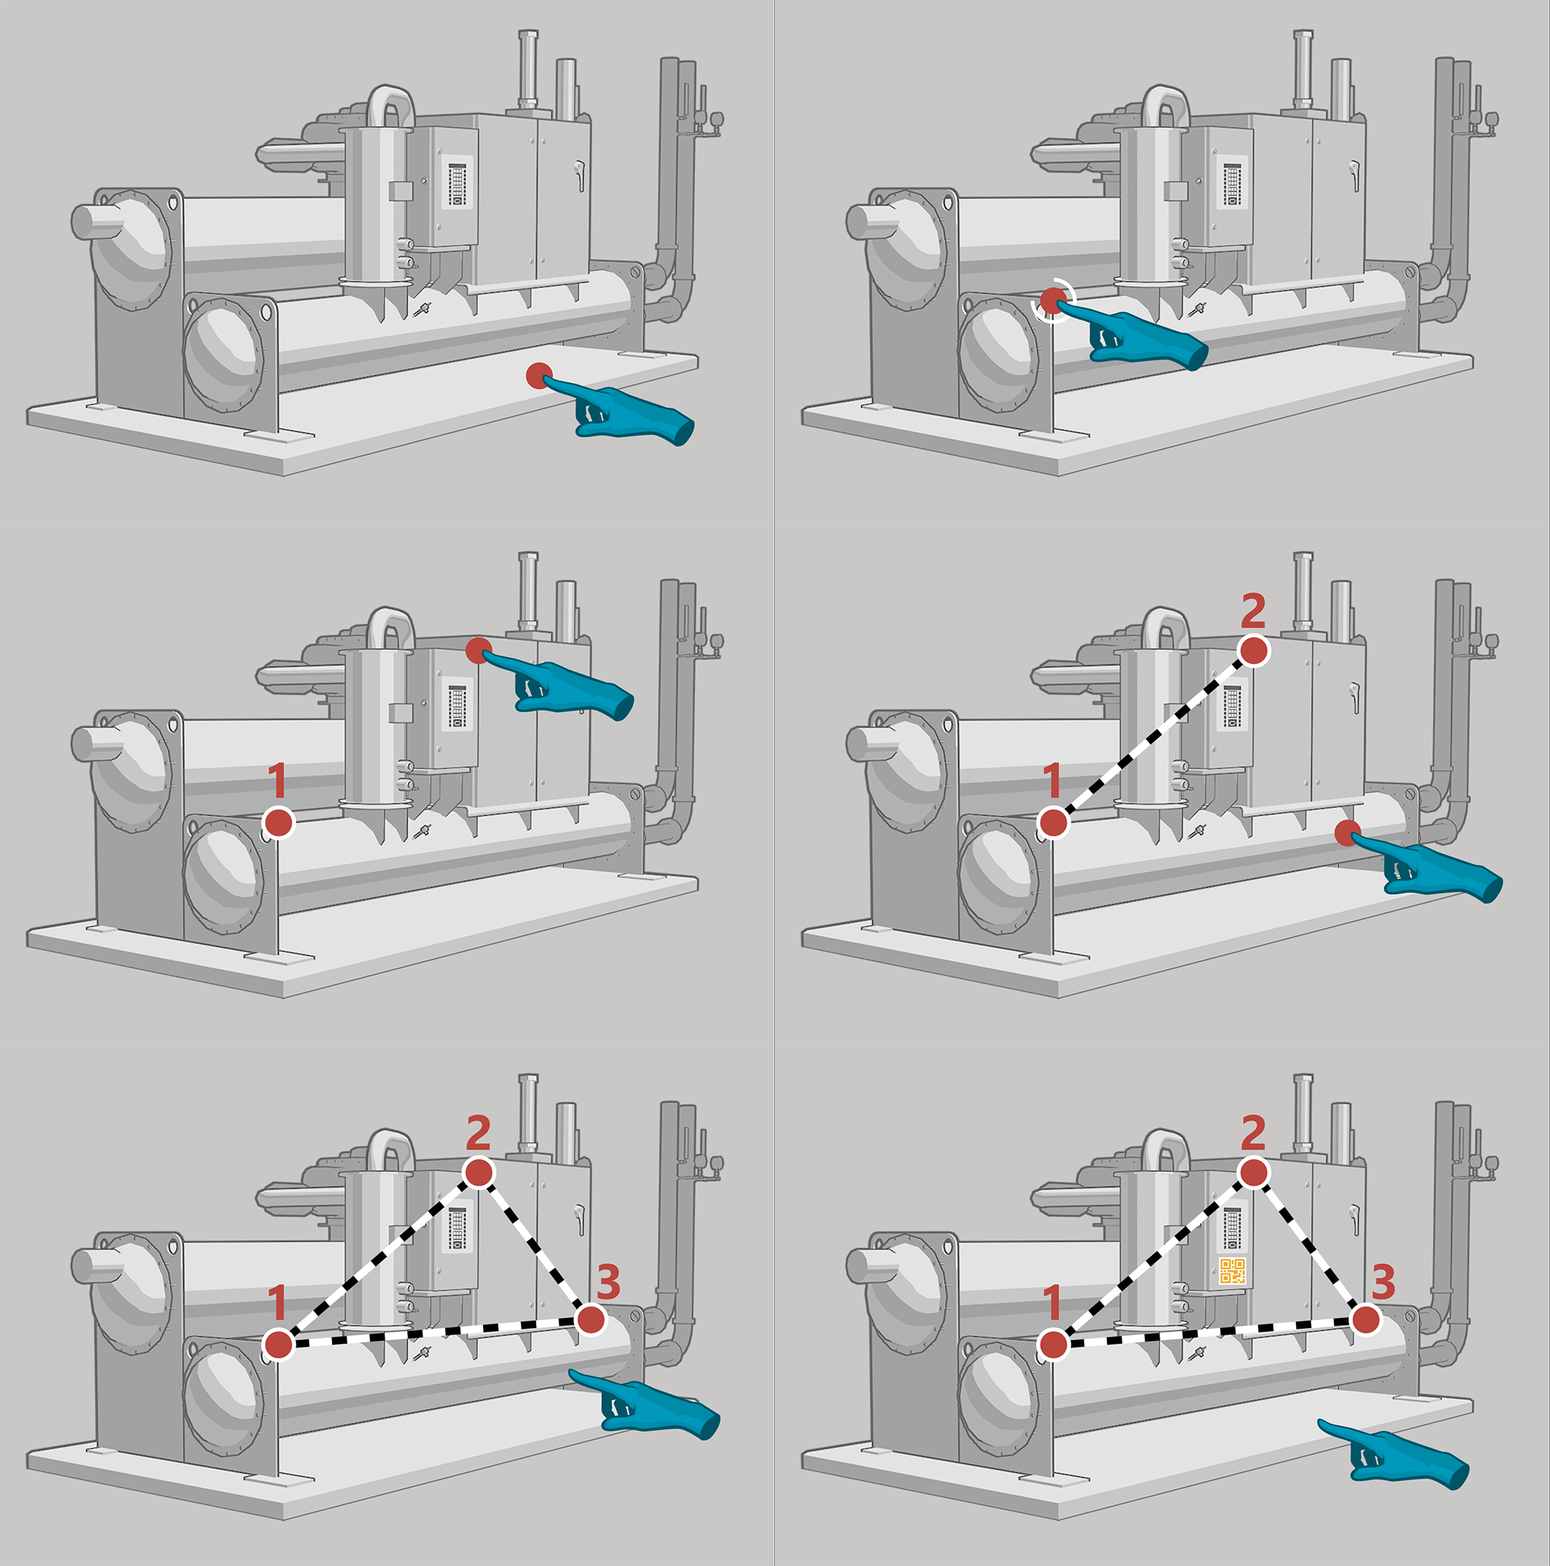
Touch Alignment uses hand tracking to allow an Author to generate three (3) Alignment Points on or around the Asset, which are saved and then later used to replicate the placement of a virtual Asset Tag for any Asset Class. By using this tool, Manifest users can eliminate the need for printed QR codes to serve as an anchor for spatially authored content.
Touch Alignment Setup
Authors must first create the Alignment Points and configure the ‘placement’ of the Asset Tag on an Asset Class virtually.
Touch Alignment Setup:
- Search for the desired Asset or Asset Class
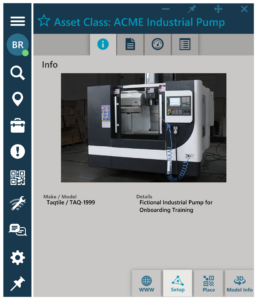
- From the Asset Detail window, select the Touch Alignment Setup button
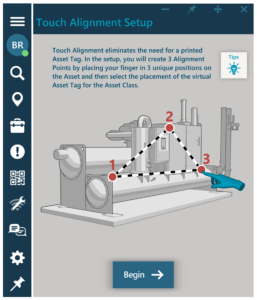
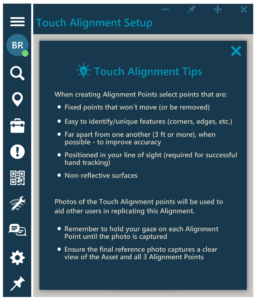
- Review the Touch Alignment Tips and select Begin to start the setup
- A smaller ‘follow-me’ window will appear in the user’s field of view to prompt for each step of the process. This window can be manually moved (air tap + hold and drag to the desired location) or pinned.
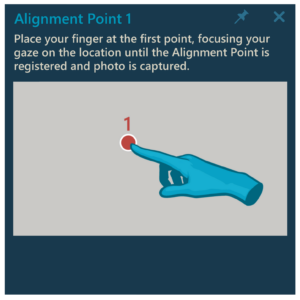
- To set the first Alignment Point, the user is prompted to place their finger at the first point, focusing their gaze on the location until the Alignment Point is registered. Note: Users should hold their finger and gaze in position until the photo is captured. This photo will serve as a reference image for future users needing to replicate this Alignment Point.
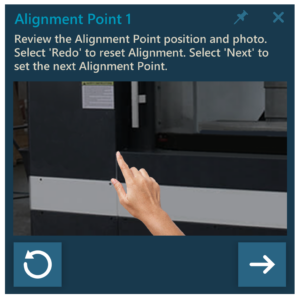
- Review the photo captured and ensure it has correctly captured the position where the user’s finger should be placed to register the Alignment Point. Then select the ‘Next’ arrow. Select ‘Redo’ to redo the Alignment Point if necessary.
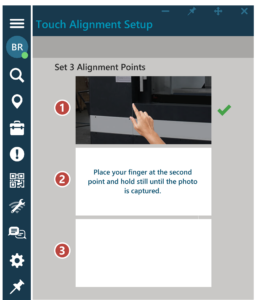
- Repeat these above steps for Alignment Points 2 and 3
- Once the 3 Alignment Points have been registered, the user will be prompted to Place the Asset Tag. Select Scan Tag if a printed Asset Tag is already in use. Select Place Tag to virtually place the Asset Tag.
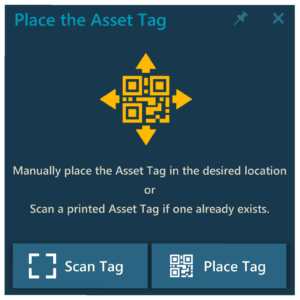
- When the Asset Tag is in the desired location, select the ‘Next’ arrow.
- Lastly, take a final photo that captures all 3 Alignment Points and the Asset Tag displayed over the Asset. This will be used to inform users where the Alignment Points are located and where the Asset Tag should render.
- Review the photo captured and ensure it will be a good reference photo, then select the ‘Next’ arrow.
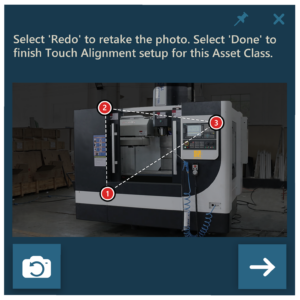
- Setup will be complete and an ‘Alignment Successful!’ message will be returned
Edit or Remove Touch Alignment
Touch Alignment cannot be partially edited. If any of the Alignment Points or reference photos need to be updated, the Author can ‘Edit’ Touch Alignment to delete the full configuration and repeat the setup process. To remove the Touch Alignment option from an Asset Class and all related Assets, there is an option to ‘Delete’.
- Search for the desired Asset or Asset Class
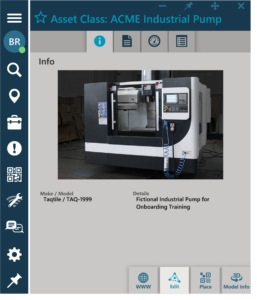
- From the Asset Detail window, select the Touch Alignment Edit button
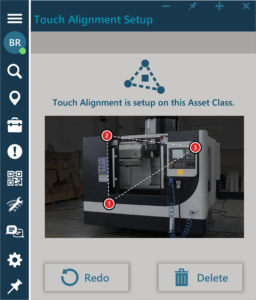
- To repeat the setup, select Edit
- To remove Touch Alignment altogether, select Delete
Tag Placement using Touch Alignment
Once Touch Alignment has been setup on an Asset Class, users can place the virtual Asset Tag for any related Assets by following the Touch Alignment prompts. When the Asset Tag is placed in the correct location (as originally configured), it makes it possible to view any spatially anchored content for that Asset Class and in the correct position over the Asset.
To ‘Place a Tag’ using Touch Alignment:
- Search for the desired Asset or Asset Class
- From the Asset Detail window, select the Place button
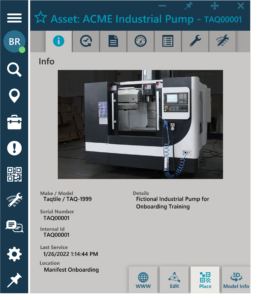
- If Touch Alignment is available, a pop-up window will appear prompting the user to Align or Skip. (Skip will simply place that Tag in the user’s field of view. Align will begin Touch Alignment.)
- To use Touch Alignment, review the reference photo with all 3 Alignment Points and then select Align
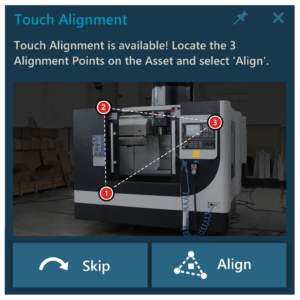
- A smaller ‘follow-me’ window will appear in the user’s field of view to prompt for each step of the process. This window can be manually moved (air tap + hold and drag to the desired location) or pinned.
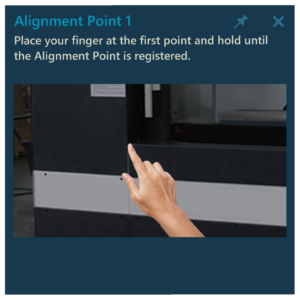
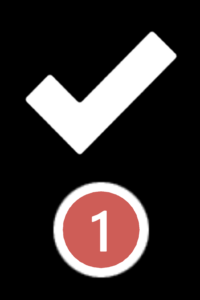
- To register the first Alignment point, review the reference photo and position your finger in the same location as shown in the picture. A red circle will load as the Alignment Point is registered with a checkmark appearing when complete.
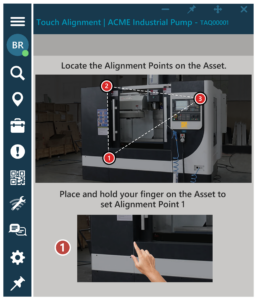
- Repeat these above steps for Alignment Point 2 and 3
- When all 3 Alignment Points are registered, the Asset Tag will be placed and a pop-up message will confirm ‘Alignment Successful!’
Support Notes
- Touch Alignment is currently only supported on Manifest 3D for HoloLens
- Touch Alignment setup is not yet available for setup in ‘Offline mode’
- Touch Alignment is only available for ‘Asset Tag’ placement and not yet offered for ‘Alignment Tags’
