Prerequisites
Only users with the Admin or Author role can add, edit, or deleted an Asset.
About Assets
Assets are registered under an Asset Class. Assets can be, but are not required to be, associated with a Location. An Asset represents a unique item (such as a piece of equipment) – likely with a serial number. It will contain its own service history, Job queue, and IoT data. Each registered Asset must be assigned an Asset Tag ID, which generates a unique QR code to be printed and placed on the Asset. The Asset Tag also serves as the primary point of reference for all spatially anchored content (3D step-markers, AR notes, meters, etc.) For this reason – it’s critical that the placement of the QR code (the Asset Tag) on an Asset is consistent for all Assets of that same class.
Add an Asset
- In the Manifest Web application, go to the menu and open ‘Assets’
- Select + Asset
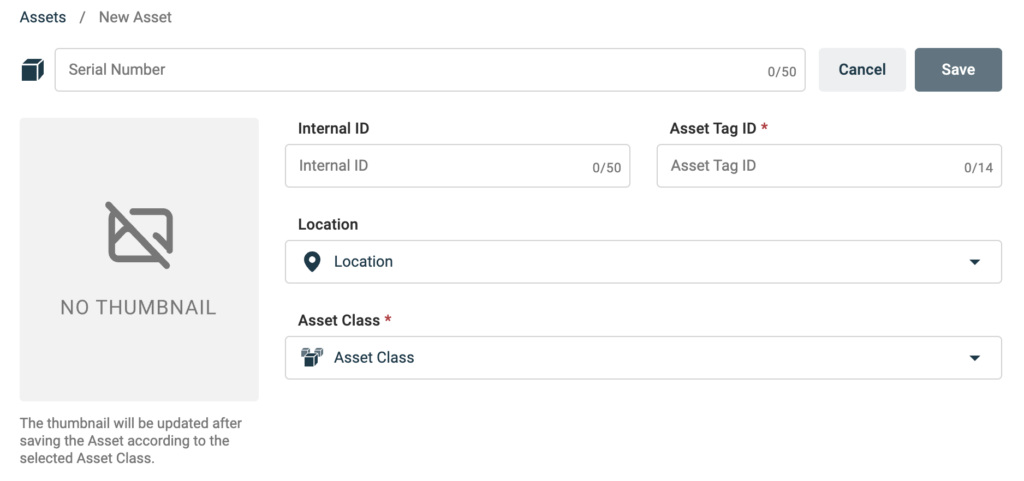
- A window will open and prompt users for details required to create a new Asset. Fields include the following (those with an asterisk are required):
- Serial Number*: an unique items serial number
- Internal ID: optional field to associate an internal reference identifier
- Asset Tag ID*: a unique identifier assigned to generate the QR code (can be an arbitrary number system or a specific asset tagging system that may be already used internally)
- Location: the Location where the Asset is located. This must be associated with a configured Manifest Location
- Asset Class*: the associated Asset Class
- Once complete, select Save
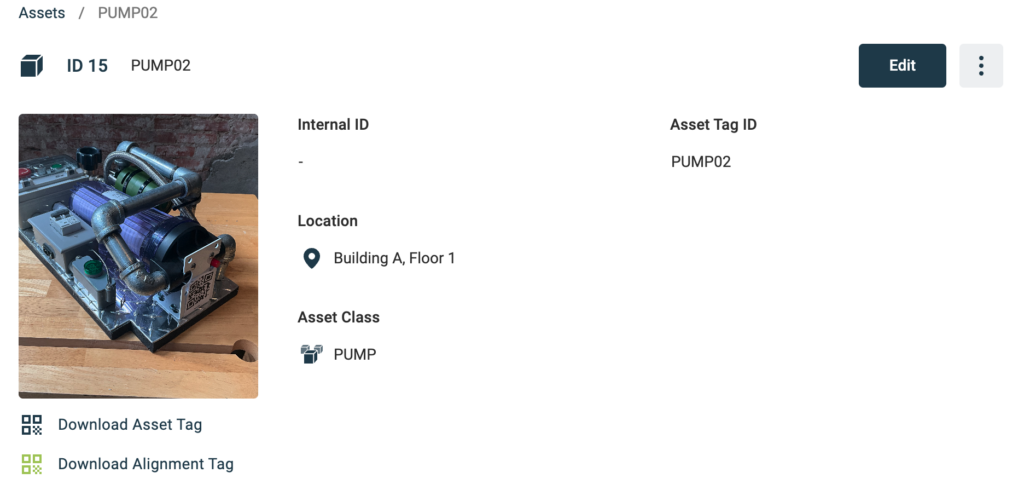
- The newly created Asset should now appear in the list of Assets. Selecting its name will display details about it as well as a menu to access additional tools
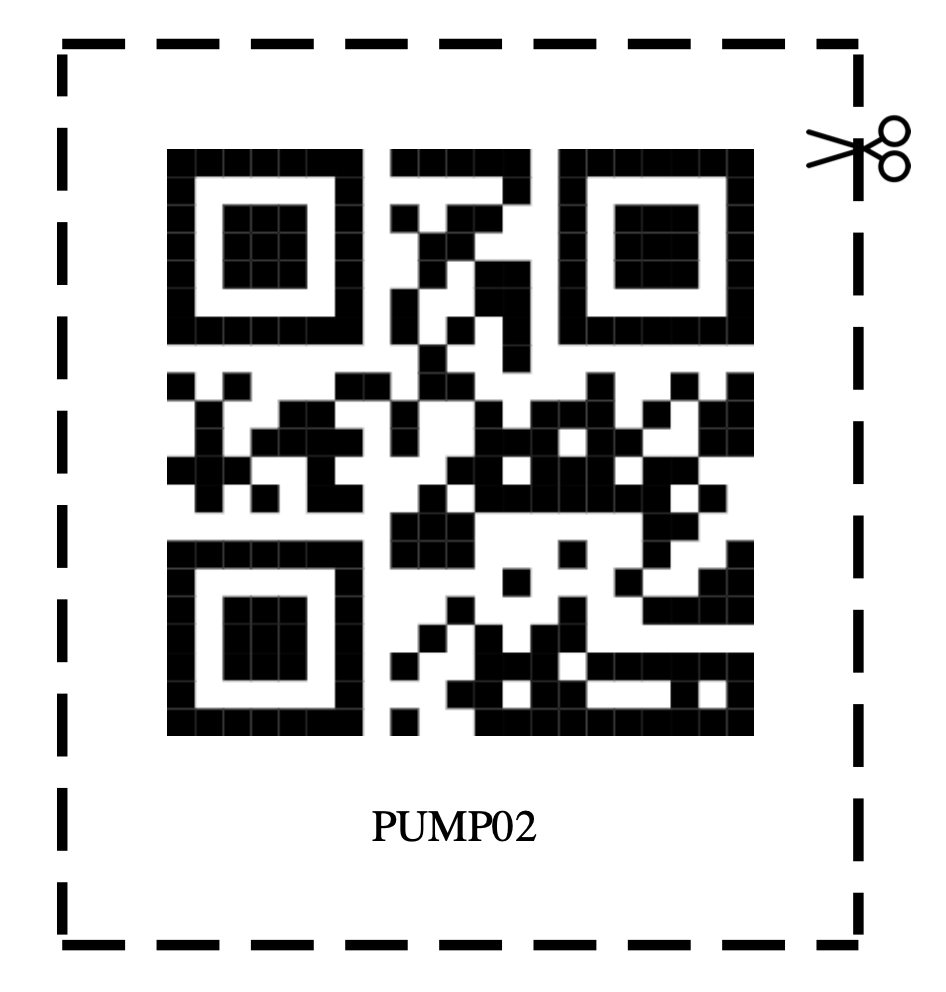
Print Asset Tag
- Once the Asset is created, expand the Asset details and select the blue QR code found under the thumbnail image
- The Asset Tag PDF will automatically download
- Save and print the PDF
Pro Tip! QR Codes in Manifest are standardized at 56mm in size to optimize the scanning and tracking experience. To ensure the QR code prints to the correct size, it is imperative that your printer is set to print at 100% scale. On Windows 11, you will find the Scale settings under “More settings”. On macOS Sonoma, you will find Scale under the “Scaling” option in the Print dialog.
Print Alignment Tag
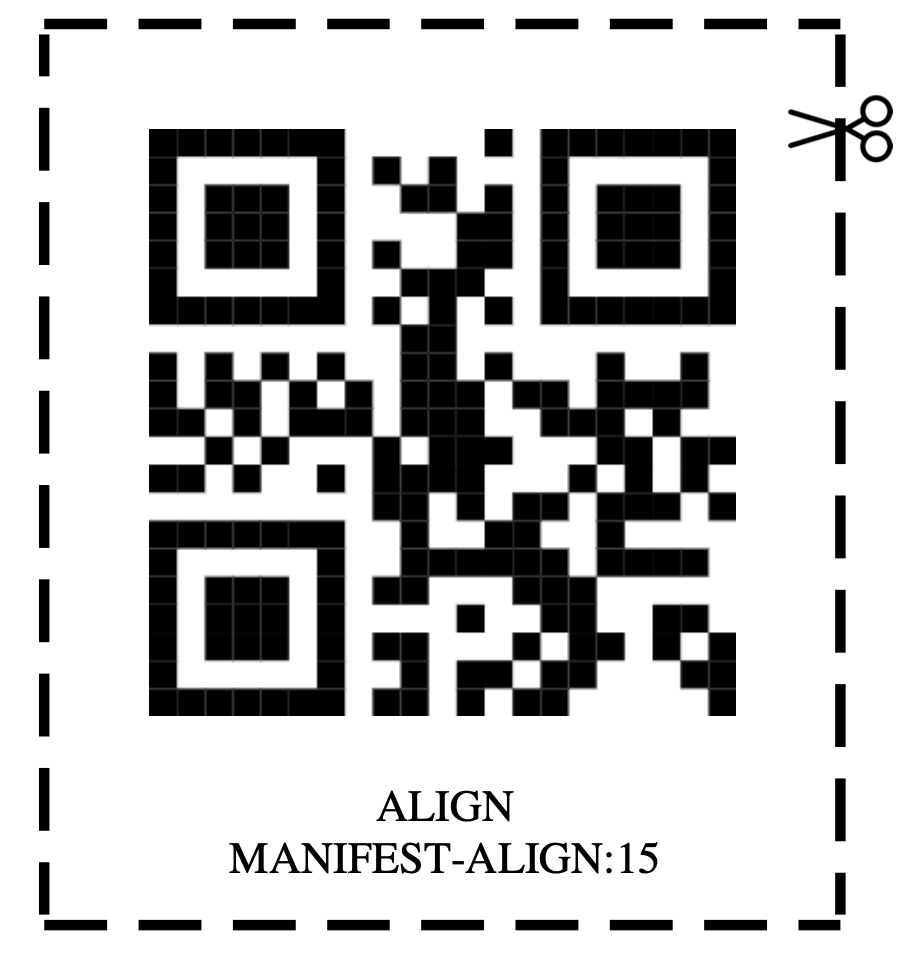
With any procedure that spans over a large asset/area, spatially anchored content may lose accuracy the further it is from the scanned Asset Tag. Alignment Actions allow Authors to create steps to re-align content an Alignment Tag at any stage in the procedure. These tags will increase accuracy.
- Once the Asset is created, expand the Asset details and select the green QR code found under the thumbnail image
- The Asset Tag PDF will automatically download
- Save and print the PDF
Pro Tip! The same Alignment Tag can be used multiple times for the same Asset.
Edit an Asset
- In the Manifest Web application, navigate to Assets on the menu
- Search for the Asset you would like to edit
- Select the list item
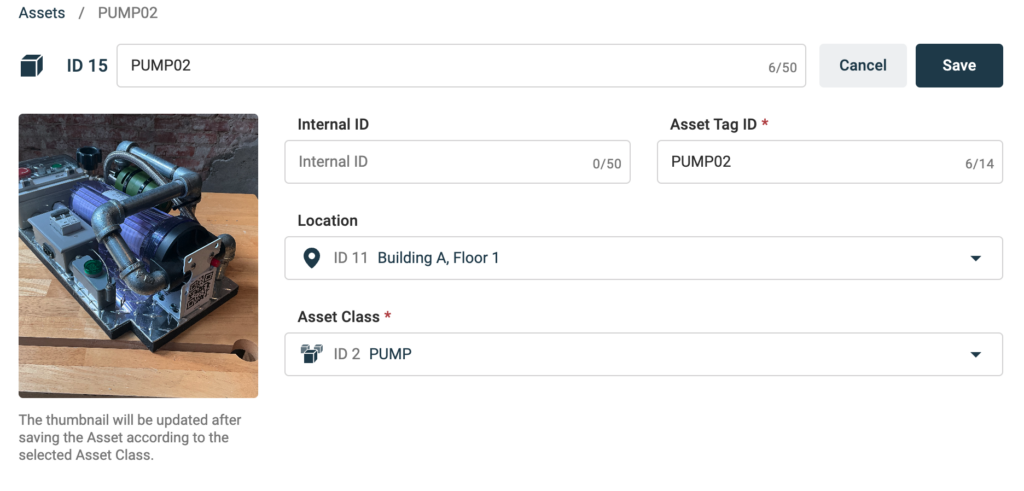
- The Asset form will open
- At the top right-hand corner, select Edit
- Edit the Asset information and select Save
Delete an Asset
- In the Manifest Web application, navigate to Assets on the menu
- Search for the Asset you would like to delete
- To the right of the Asset name in the list, select the three dots to open the Options menu
- Select Delete from the dropdown menu

Note: If Jobs are associated with an Asset, that Asset cannot be deleted.
Archive an Asset
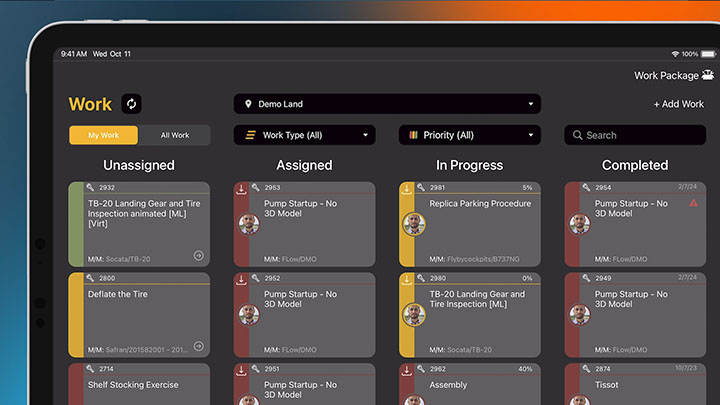
Once an Asset has associated Work, it can not longer be deleted. Instead, the Asset can be archived. When an Asset is archived, any associated Work will also be archived and any incomplete Work will be canceled.
- In the Manifest Web application, navigate to Assets on the menu
- To the right of the Asset name in the list, select the three dots to open the Options menu
- Select Archive from the dropdown menu
- If there is associated Work, a Warning message will appear listing all Work that will either be archived or canceled based on the Work status (‘Assigned’, ‘In Progress’, ‘Completed’)
- Select Continue
- When the success message appears, the Asset will successfully be archived

Note: Assets can be ‘Unarchived’ using the same actions. Work will not revert to it’s original status and new Work needs to be created against this Asset.
Move an Asset between Orgs
If you domain utilizes Orgs, then each Asset can only exist within a single Org. Only users with the Admin role can move Assets between Orgs. Moving an Asset to another Org will move all related Assets, Faults, Work and Measurements and also add the associated Asset Class(es) and Users to the selected Org (if applicable). To move an Asset between Orgs:
- In the Manifest Web application, navigate to Assets on the menu
- Search for the Asset you would like to move
- To the right of the Asset name in the list, select the three dots to open the Options menu
- Select Move to another Org from the dropdown menu
- You will be prompted with a modal window with a list of Orgs the Asset can be moved to
- Select an Org (single option)
- When the success message appears, the Asset will successfully be moved
- If there are associated Asset Class(es) that need to be moved, you will be prompted with a modal window outlining which other Asset Class(es) will be moved to the Org
- If there are associated Users that have assigned Work associated with this Asset, you will be prompted with another modal window outlining the Users who will be moved to this Org and give the Admin the ability to ‘unselect’ any User who should NOT be moved to the selected Org


