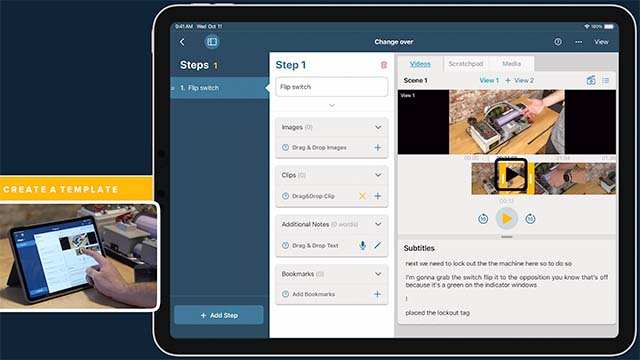
There may be an instance when a Manifest client initially deploys a cloud based instance but then wants to also deploy a Manifest instance using docker. If you want all the content that was created on the hosted instance to be uploaded and added to the docker instance, please follow the instructions below.
Prerequisites
- Most current docker compose file
- SQL database of the Manifest domain content to be uploaded to an on-premise instance.
- Please reach out to your Account Manager to obtain this file
How to Upload a .SQL File to a new On-Premise Instance
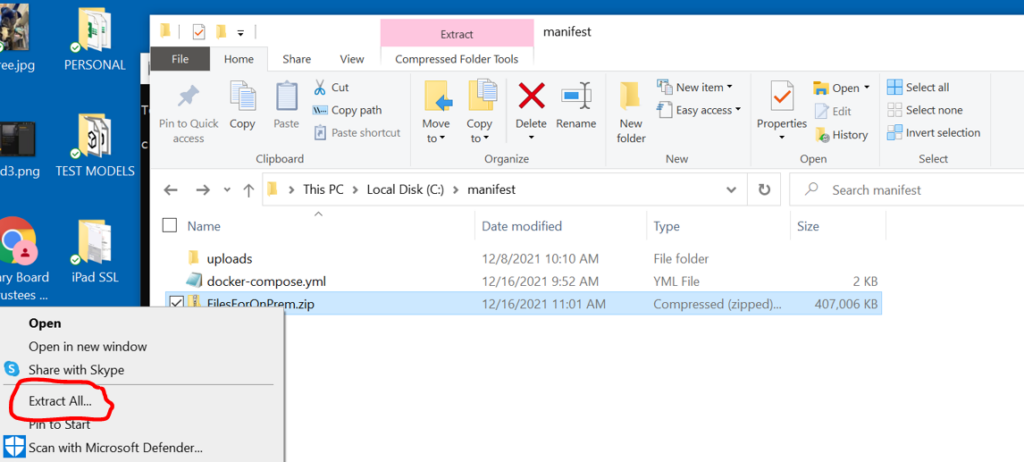
- Once you have obtained the zip file from your Account Manager, rename the file and please it in the manifest folder on your Local Drive.

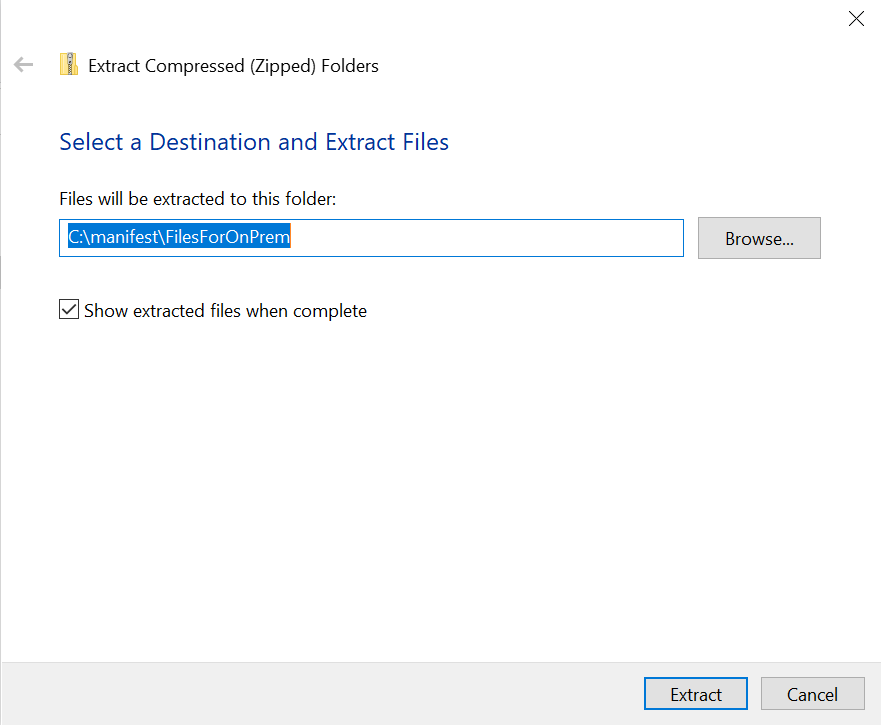
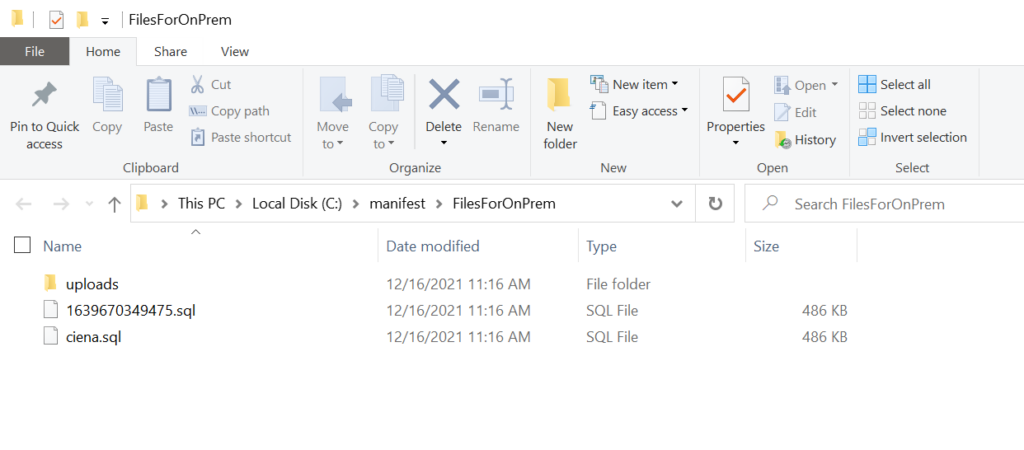
- Extract files from zip file (in zip file must be 2 files – uploads folder and sql file with database backup with name same with client name)
- It is OK to leave the ZIP file in the folder.
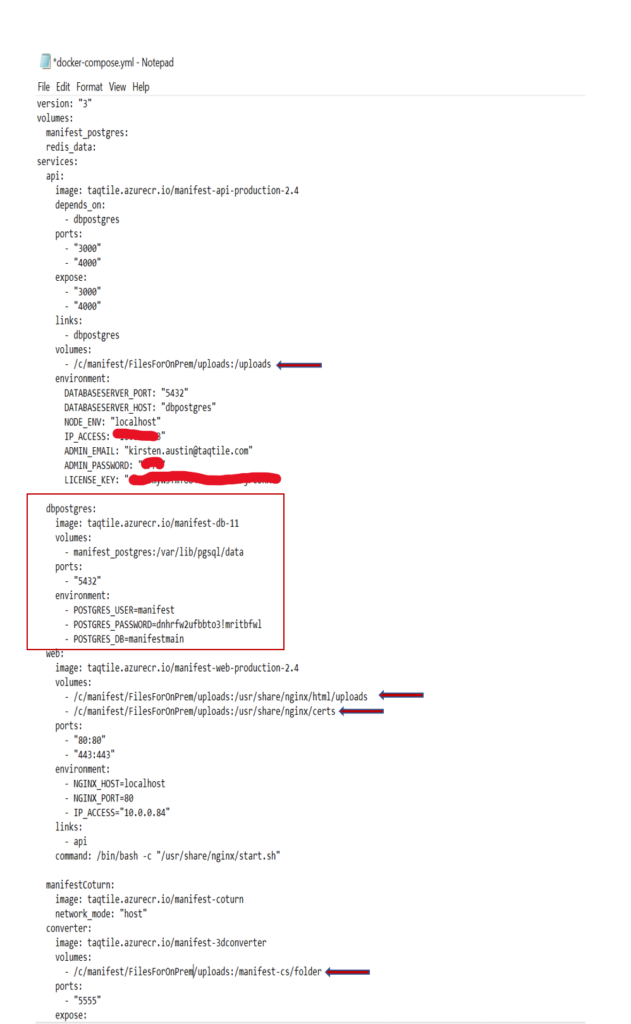
- Change the docker compose file to connect existing files to the on-premise build.
- You will need to change the following variables based on where the uploads folder is stored. Here are examples of where you need to change:
- API Variables:
- Volumes: <put/path/to/file/storage/here>:/uploads
- Example: /c/manifest/FilesForOnPrem/uploads:/uploads
- Web Variables:
- Volumes: </put/path/to/file/storage/here>:/usr/share/nginx/html/uploads
- Example: /c/manifest/FilesForOnPrem/uploads:/usr/share/nginx/html/uploads
- Docker container:
- Volumes: <put_here_path_to_folder_where_certs_will_store>:/usr/share/nginx/certs
- Example: /c/manifest/FilesForOnPrem/uploads:/usr/share/nginx/certs
- Converter Variables:
- Volumes: </put/path/to/file/storage/here>:/manifest-cs/folder
- Examples: /c/manifest/FilesForOnPrem/uploads:/manifest-cs/folder
- API Variables:
- Please also make sure to update the dbpostgres block in the docker compose file:
- You will need to change the following variables based on where the uploads folder is stored. Here are examples of where you need to change:
dbpostgres:
image: taqtile.azurecr.io/manifest-db-11
volumes:
– manifest_postgres:/var/lib/pgsql/data **postgres on mac but replaced by pgsql
ports:
– “5432”
environment:
– POSTGRES_USER=manifest
– POSTGRES_PASSWORD=dnhrfw2ufbbto3!mritbfwl
– POSTGRES_DB=manifestmain
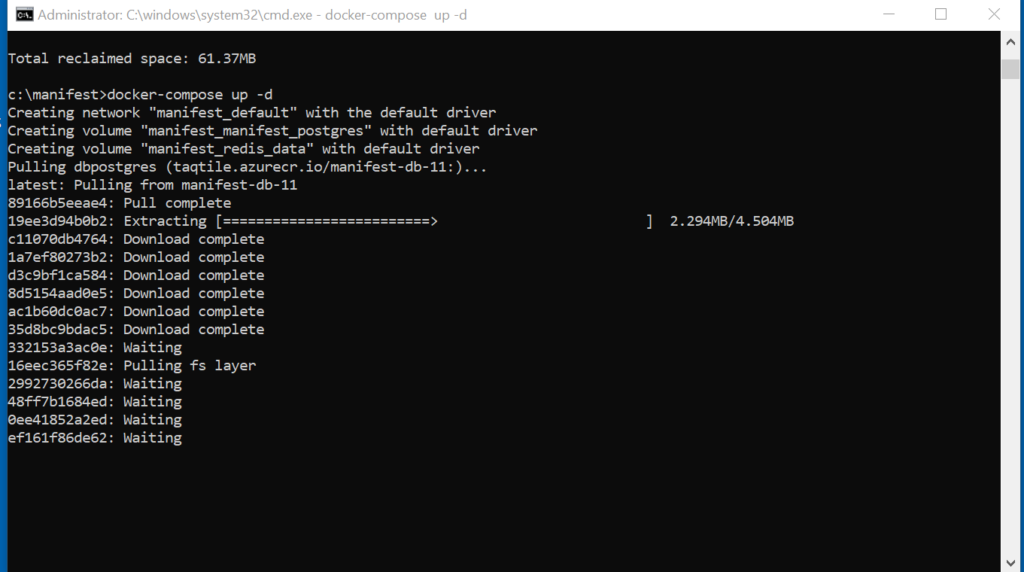
4. Launch compose by “docker-compose up -d” command
5. Check container status by “docker container ls” command

6. Copy database backup by command “docker cp {database_file_name}.sql {id_database_container}:/{database_file_name}.sql “
- Id_database_container: This is the id db container from the results of command docker container ls.
- Example: id_database_container = b238ef9a8df4
- Database_file_name: This is the name of the sql file from archive
- Example: FilesForOnPrem.sql
- Final Command: docker cp FilesForOnPrem.sql
- Example: b238ef9a8df4:/FilesForOnPrem.sql

Note: It’s important that you make sure that you copy <Database_file_name>.sql from <storage> folder to manifest folder

7. Enter inside of database container by “ docker exec -it {id_database_container} /bin/bash “ (Example: docker exec -it b238ef9a8df4 /bin/bash)

8. Prepare database backup by “ sed -i ‘s/devtaqtile/manifest/g’ {database_file_name}.sql “ command. (Example: sed -i ‘s/devtaqtile/manifest/g’ FilesForOnPrem.sql)

9. Enter inside of database by command “ psql -U manifest -d postgres “

10. Use command “ DROP DATABASE default_client_db; “ and ” CREATE DATABASE default_client_db; ” to prepare database for restore existing database from backup. After that leave database by command “ exit; “

11. Use command “ psql -U manifest -d default_client_db < {database_file_name}.sql “ to restore existing database from backup. (Example: psql -U manifest -d default_client_db < FilesForOnPrem.sql )
After that leave database container by command “exit”
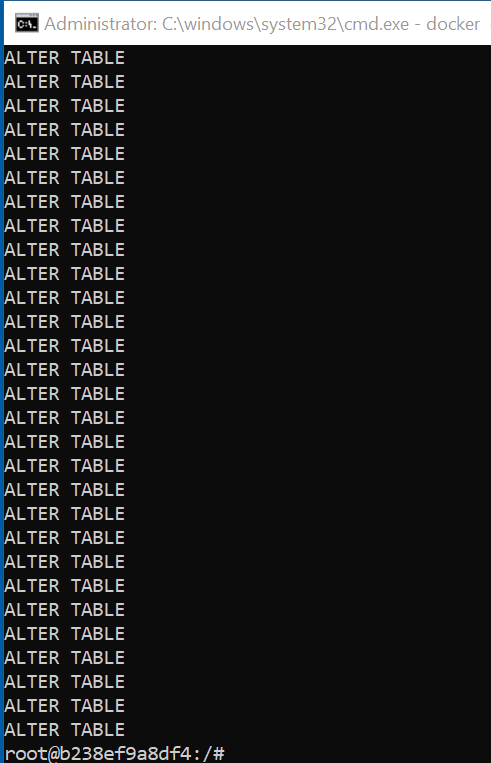
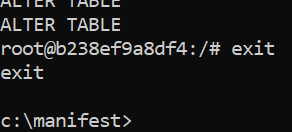
12. Done. You can check data in the web client

Frequently Asked Questions
QUESTION: Are you able to upload multiple databases to an on-premise instance?
ANSWER: Currently you are not able to upload a .SQL file to an on-prem instance that is currently populated with data. Any and all content that is currently on the on-prem instance will be cleared and replaced with the .SQL file.

