Locations Tab Overview
Locations are a great way to organize work and data within Manifest. While typically, a Location is a physical location – such as a specific plant, a discrete part of a facility, or a geographical location such as a city, Locations can also be used to segment different groups within the domain. Since Assets and Work are associated with a specific Location, Locations provide a structured way to organize this data.
The Locations Tab is a single view that displays a list of all Parent and Child Locations configured for the Manifest domain. This tab can be accessed by selecting Locations on the menu along the bottom of the app screen.

Using the Locations Tab
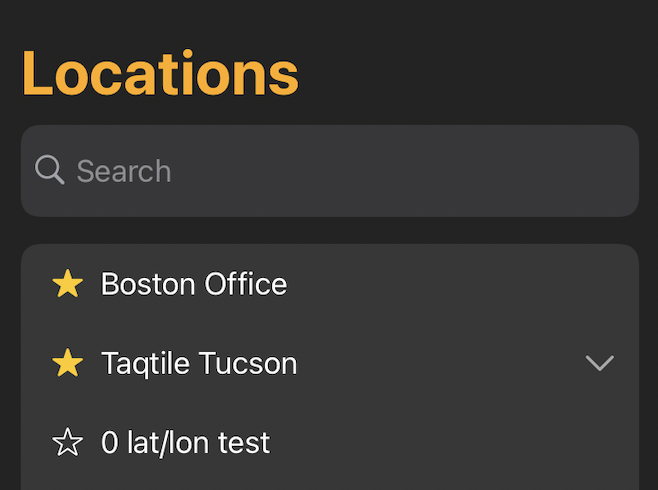
On the lefthand side of the Locations tab, there is a list of all the Parent Locations configured for the Manifest instance. If a Location has ‘Child Locations’, the listing will display a downward arrow to the right. Selecting the arrow will expand to show the list of Child Locations.
Locations which have been favorited will load first and display a solid gold star to indicate they are a ‘Favorite’, otherwise Locations are shown in alphanumeric order. Users can favorite a Location by selecting the star in the Location listing.
Users can use the search bar to quickly find Locations and select the Location name to open the Location detail window.
Locations Detail
Selecting a Location will update the Location Detail displayed in the right-side panel. This includes:
- Apple Map with Location pin
- Name
- Address
- Description
- Maintenance Hours
- Total Jobs
- Jobs Priority: Horizontal bar graph of jobs by priority
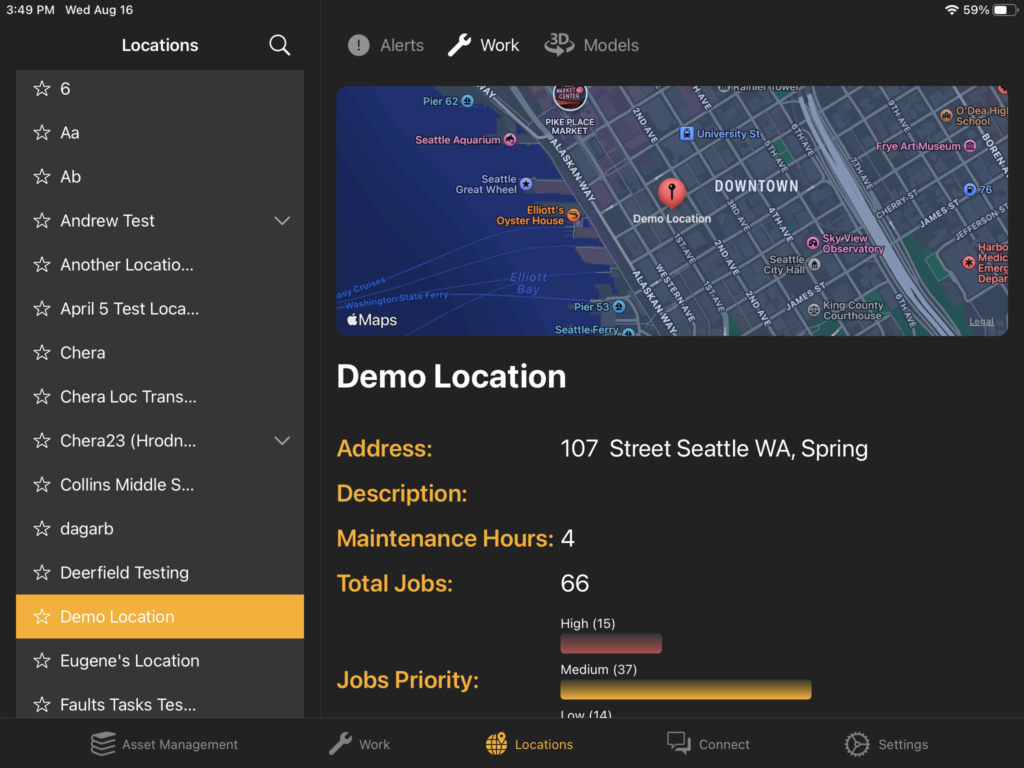
Each Location Detail also contains three icons in the upper-left hand corner to display data associated with the Location:
- Alerts
- Work
- 3D Models.
*Note: If the icon is gray (disabled), this indicates there is no data for that type.
Alerts
Alerts are generated when an Asset Meter measurement falls outside of the defined threshold and should be reviewed. If there are Assets with Alerts at a specific Location, this will be indicated by a red circle with the number of Alerts on the Location listing and the Alerts icon. Selecting the Alerts icon will pop-out a window with all current Alerts, showing the Asset and Meter information, current reading, configured tolerance range, and date and time the Alert was triggered. Users can ‘Mark as seen’ to acknowledge an Alert.

Work Access from the Locations Tab
Viewing Work
To view the current Work associated to a Location, select the Work icon. A window will pop-out with options to view All Works or My Work and to further filter by the current Work status.
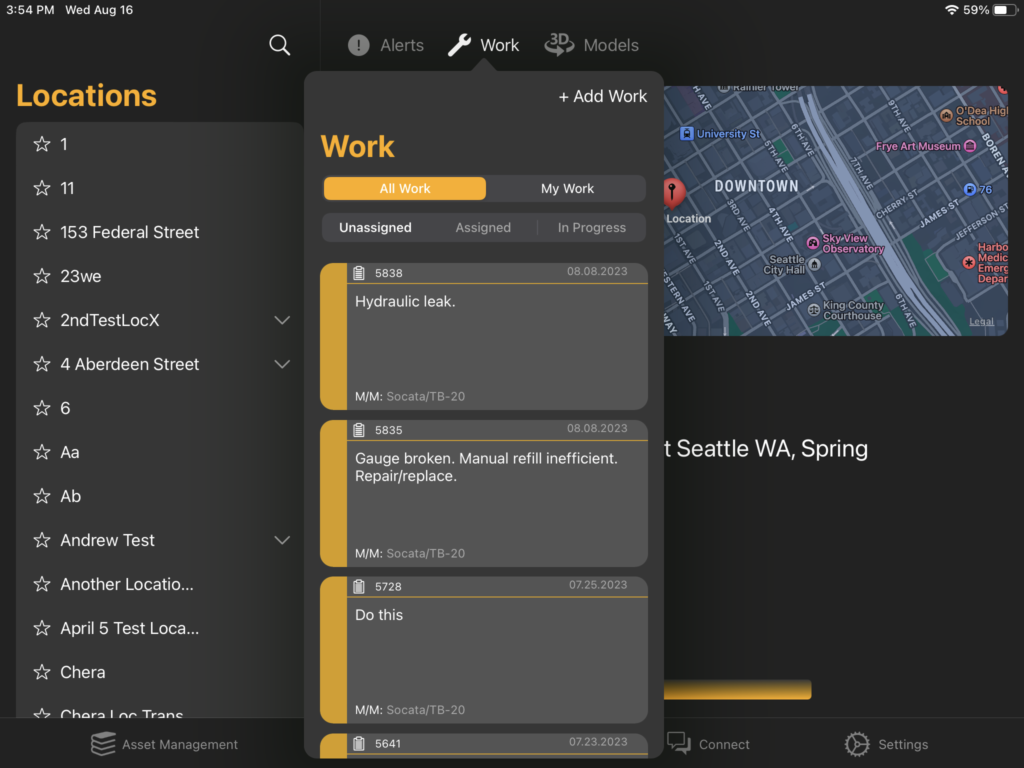
Create Work
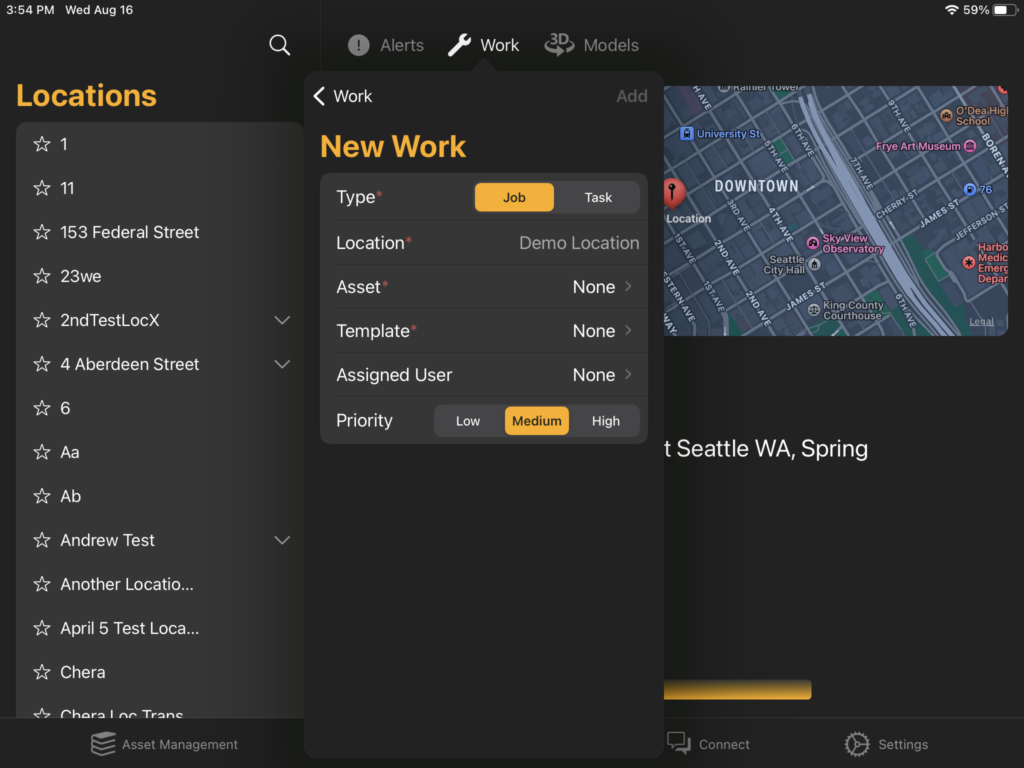
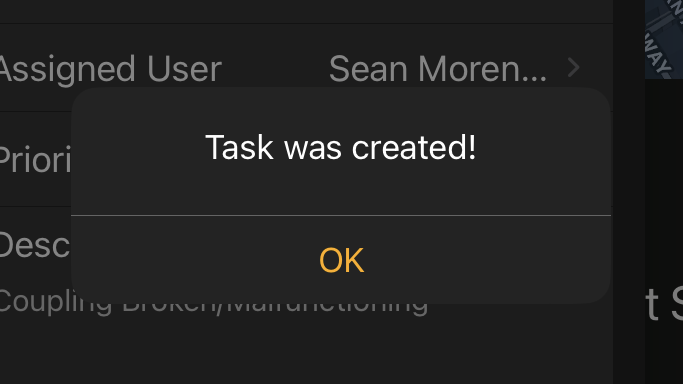
To create new Work for an Asset at the selected Location, select + Add Work. The window will update to prompt the user to select a Work Type, Asset, Template, and priority. Once all data is completed, select Add to create the Work item.
*Note: Location info will be pulled from the currently selected Location
3D Models
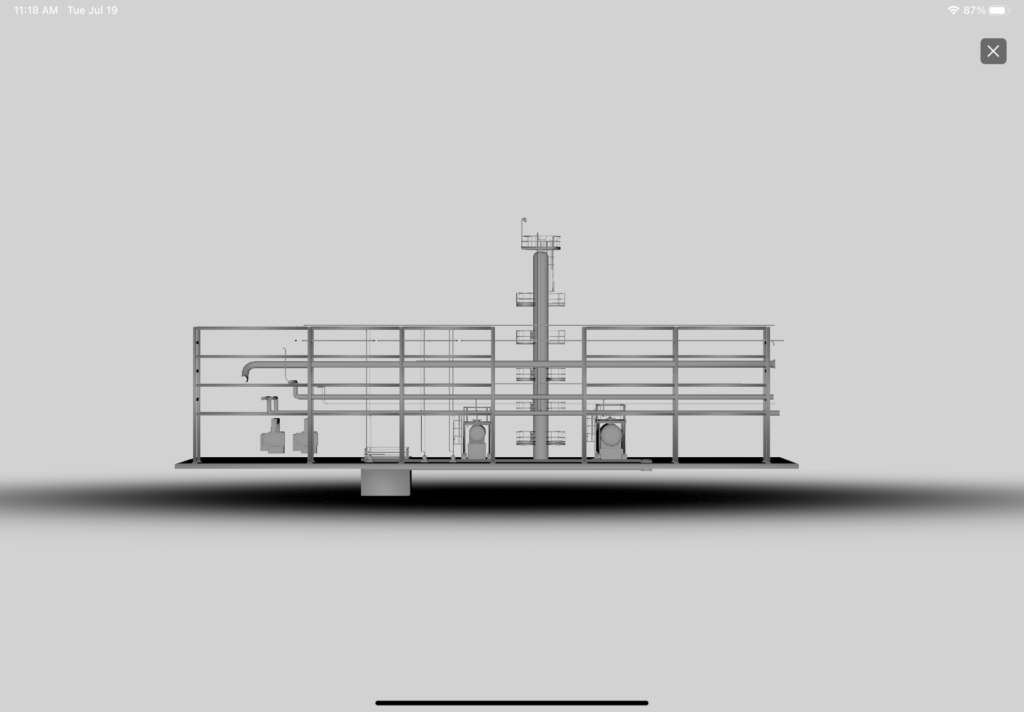
If a 3D model has been uploaded for a Location, the 3D Models icon will be enabled. Only one model can be associated with a Location. Selecting the Model icon will load the 3D model full screen and allow to manipulate the model using pinch to scale and slide to rotate.
